Blood Glucose on Your Wrist - Setting Up iPhone + Apple Watch + Nightscout
Nightscout is a powerful tool, but it becomes genuinely useful when your glucose data is always within reach - or, more precisely, on your wrist. Combined with the right app, Apple Watch eliminates the need to keep checking your phone. This guide explains how to configure an iPhone and Apple Watch to display Nightscout data. The setup is quick and straightforward.
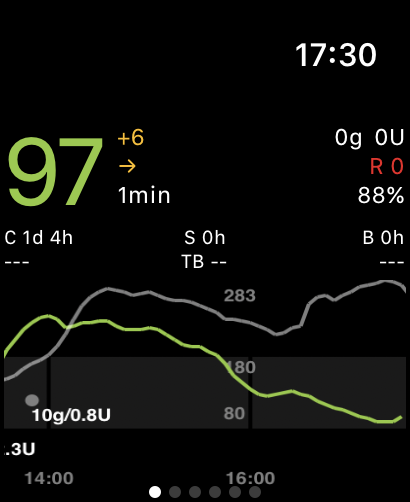
View from the Nightguard app
What do you need?
Before you begin, make sure you have:
An iPhone running iOS 16.2 or later for Zukka, or iOS 15.0 or later for Nightguard
An Apple Watch running watchOS 10.0 or later for Zukka, or watchOS 9.1 or later for Nightguard
A working Nightscout server - neither app can display data without one. If you do not have your own Nightscout instance yet, see the available plans at https://diab.ninja
Your Nightscout URL, for example
https://twoj-nightscout.diab.ninja
Choosing an app - Nightguard vs. Zukka
Two reliable free apps can display Nightscout glucose data on Apple Watch. Each is suited to a slightly different use case.
Nightguard was designed specifically for Nightscout and Apple Watch. It is lightweight, stable, and provides:
the current glucose level, trend, and time of the latest reading on the watch face through complications,
vibration alerts when thresholds are exceeded,
statistics displayed directly on the watch,
Apple HealthKit synchronization.
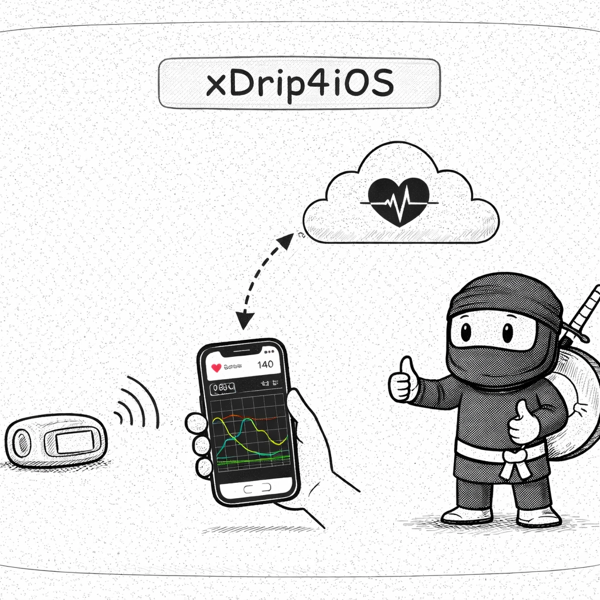
Zukka is a fork of xDrip4iOS, which was created as an iOS alternative to xDrip. It offers similar features, but in my experience, Nightguard fits the Apple ecosystem better and runs more reliably on Apple Watch. Zukka is the stronger choice when you want to read data directly from a Dexcom or Libre sensor while also sending it to Nightscout. Installing both apps and testing them yourself is perfectly reasonable.
Installing and configuring Nightguard
Step 1. Download and install Nightguard on your iPhone
The app is available in the App Store at this link. Download it to your phone.
Step 2. Enter your Nightscout address
When you open the app, you will see a configuration field. Enter the full URL of your Nightscout server. If you use API_SECRET protection, the app will ask you to enter it.
Step 3. Install the app on Apple Watch
Open the Watch app on your iPhone. It is installed by default on every iPhone. Scroll down to the "Available Apps" section and find Nightguard. Tap Install.
Once installed, the app will appear on your watch's app screen. The most useful step is adding your glucose reading to the watch face.
Adding glucose data to the Apple Watch face with complications
Nightguard's biggest advantage is that it can display your glucose reading directly on the watch face. You do not need to open the app because the data appears as soon as you raise your wrist.
How to add the Nightguard complication:
Press and hold the watch face on your Apple Watch to enter editing mode.
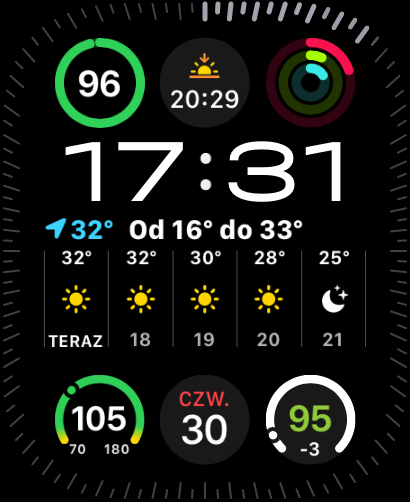
Swipe left or right to select the face you want to modify, such as California, Infograph, Modular, or Timelapse.
Tap Edit, then scroll to the complications view.
Select the position on the watch face that you want to replace and tap it.
Turn the Digital Crown to scroll through the available complications, then select Nightguard.
Depending on the selected watch face and complication size, you will see:
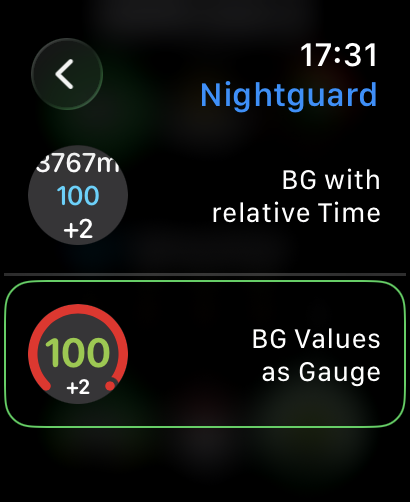
the glucose value alone, for example on the California face,
the value, trend, and time of the latest reading, for example on the Infograph or Timelapse face.
On the Modular or Infograph Modular face, you can place Nightguard in a larger slot to display more information.
Alerts and notifications
By default, Nightguard sends notifications when your glucose level crosses defined thresholds. You can configure them in the app settings on your iPhone:
set the upper and lower glucose limits,
enable alerts for rapid rises or drops,
enable "Do Not Disturb" mode for a selected period.
The app must remain active for alarms to work reliably. Nightguard includes a screen-lock feature that keeps it running throughout the night. It is a basic solution, but it works.
Zukka
The app is free, based on xDrip4iOS, and supports Apple Watch. Installation and configuration are similar:
Download Zukka from the App Store.
Enter your Nightscout address in the app settings.
Install the watch app through the Watch app on your iPhone.
Add the Zukka complication to your watch face.
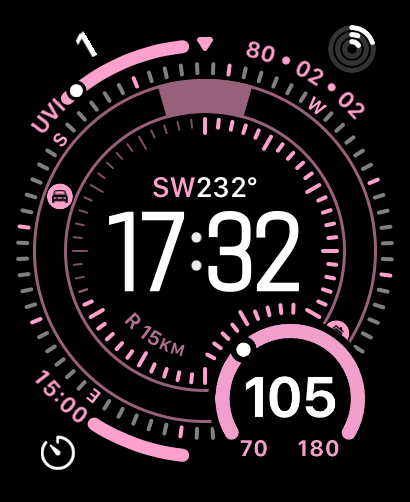
Zukka provides more features for direct sensor readings from Dexcom and Libre devices, as well as insulin management.
Summary
Setting up Apple Watch with Nightscout takes only a few minutes and makes daily diabetes management noticeably more convenient. Nightguard is my preferred option for a stable, Apple-focused setup, while Zukka is better for users who need direct sensor and insulin features. Both apps are free and cover the essential functions.
Adding a complication puts your glucose level directly on the watch face, so you can check it without reaching for your phone. The main drawback is Apple's update policy: complications may refresh approximately every 15 minutes rather than every time the watch wakes.